(347) 878-5985Free Quote
Existing Customers
Looking to make a payment. Press the paypal link and enter the amount found on your invoice
Removing a temporary wall in NYC can open up your space. These walls are often used in rental apartments or shared spaces. If you want to remove one, this guide will show you how to do it safely.
A temporary wall is a wall that doesn’t hold up the building. It is used to divide a room or create more space in an apartment. Temporary walls are also called pressurized walls or partition walls. Pressurized walls stay in place because of pressure, not nails or screws. They are common in NYC because they help create separate rooms in small apartments.
Temporary walls are easy to remove. However, you need to follow the right steps to avoid problems.
People remove temporary walls for different reasons. In NYC, many people add these walls to make small apartments feel bigger. After some time, they may want to remove the wall to open up the space.
Renters may also need to take down the wall if their landlord asks them to. Sometimes, tenants remove these walls when they no longer need the extra room.
Before you remove a temporary wall in NYC, make sure it is allowed. You may need permission from your landlord or building manager. Some temporary walls have electrical wires or plumbing behind them. In these cases, you might need a permit to remove the wall.
Check with your landlord or building management before starting. If you remove the wall without permission, you could face fines or other issues.
Here are the tools you will need to remove a temporary wall:
Make sure you have everything ready before you start. This will help you finish the job faster.
Follow these steps to remove a temporary wall safely:
Clear the area around the wall. Move any furniture or objects out of the way. You can protect the floor with a drop cloth to catch dust and debris. If the wall has any electrical wires or plumbing, turn off the power or water before you begin.
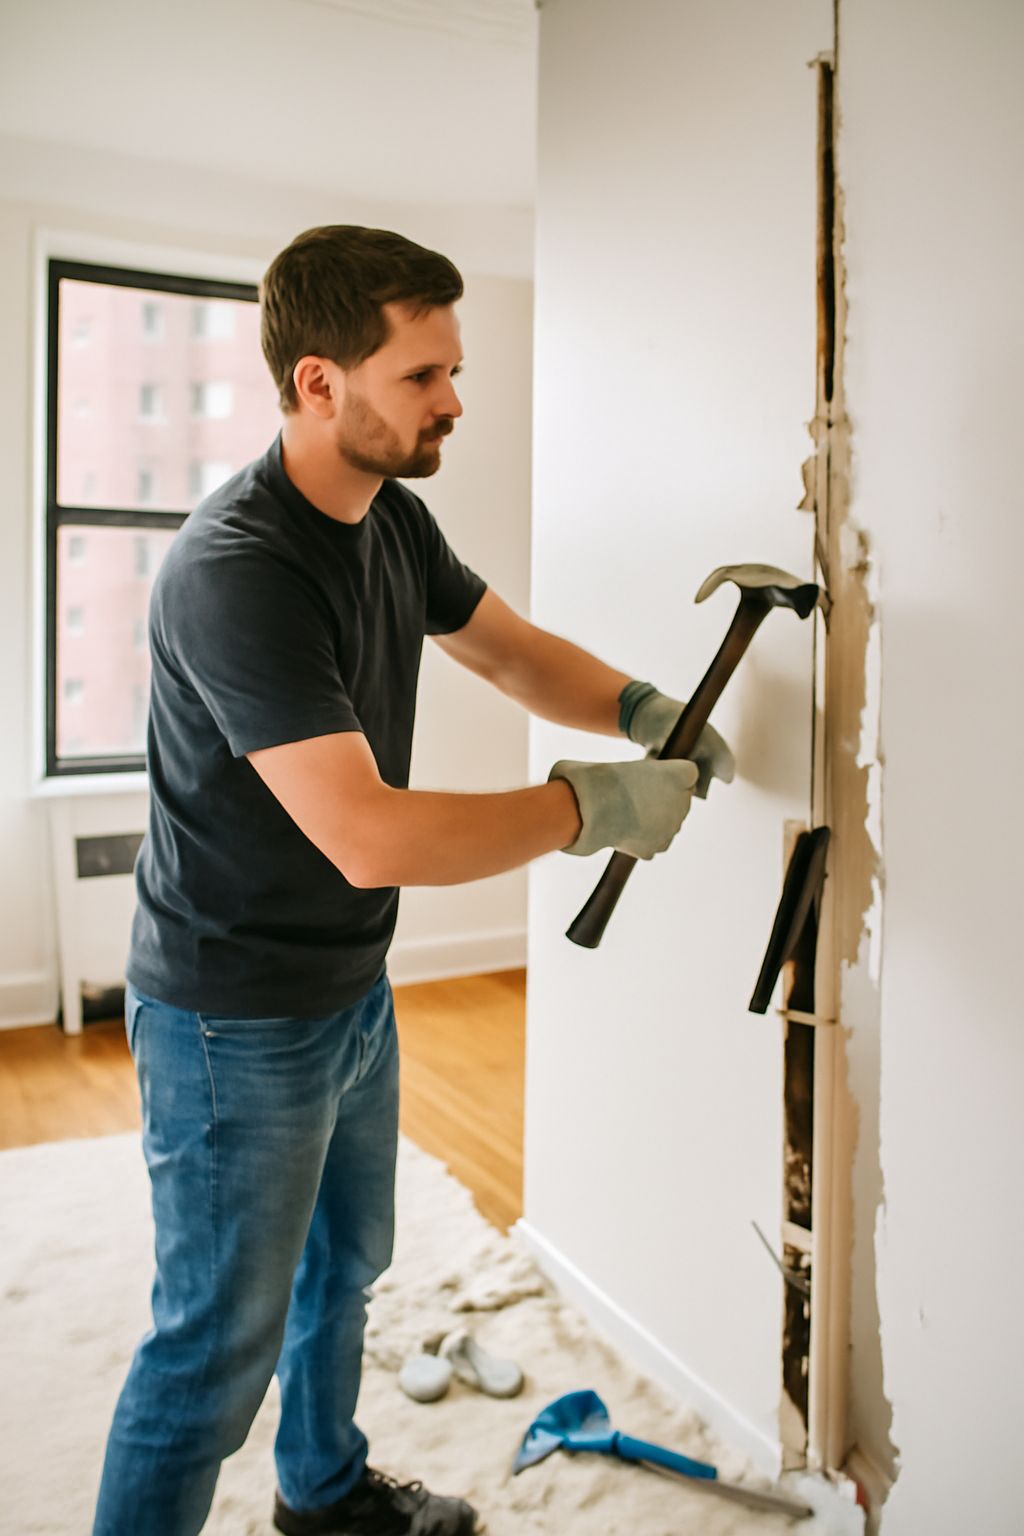
Remove any screws or nails that hold the wall in place. If it’s a pressurized wall, gently release the pressure to avoid damaging the wall or floor. Pressurized walls are held by tension, so be careful when taking them down.
Now, you can remove the drywall and frame. Use a utility knife to cut through the drywall. Then, carefully pull the pieces off. If there’s a frame, use a saw to cut it into smaller parts.
Be careful of any hidden wires or pipes as you work.
After the wall is removed, clean up the debris. Throw away the materials you don’t need, like drywall pieces and nails. If there are holes left in the floor, ceiling, or walls, patch them with drywall. Once you’ve patched the holes, smooth them out and paint over them.
Discover how All Week Walls has helped New York City residents transform living and office spaces using their damage-free pressurized wall systems. This case study highlights challenges, solutions, and benefits of pressurized wall technology that adds functional space without damage or permanent construction.
Download Full Case Study (PDF)Once the wall is gone, you will need to fix any holes or damage. Patch up the holes with drywall. Sand it smooth, then paint it to match the rest of the room. You might need to fix the floor or ceiling as well, depending on how the wall was attached.
If you don’t feel comfortable removing the wall yourself, you can hire a professional. A contractor can safely remove the wall and make sure the apartment is in good condition afterward. Hiring a professional can also help avoid any legal or safety issues.
If you decide to remove the wall yourself, make sure you understand the process. DIY can save money, but it requires the right tools and knowledge.
Removing a temporary wall in NYC can give your apartment a more open feel. Just make sure to check with your landlord or building manager first. Whether you do it yourself or hire a professional, follow the right steps to avoid mistakes. A little preparation can help you finish the job smoothly and safely.
Looking for expert temporary wall solutions in New York? Call All Week Walls today for professional service and installation.
Call Now: (347) 878-5985